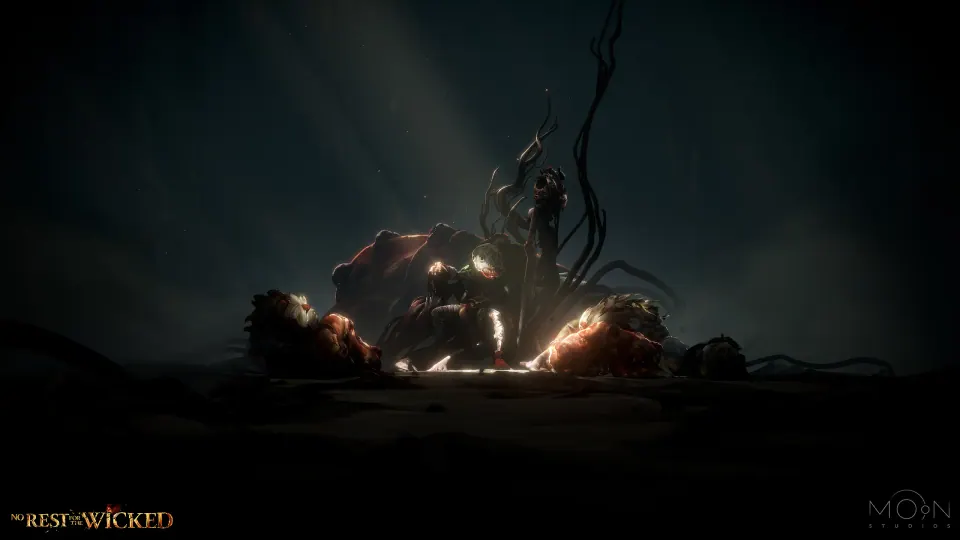
Combat Philosophy
No Rest for the Wicked uses deliberate, animation-led combat. The important beginner lesson is that an input has a cost: an attack occupies time and position, a dodge spends a defensive opportunity, and a panicked sequence can leave no stamina for the next threat. Combat becomes more manageable when you stop asking “How many hits can I force?” and start asking “What did the enemy finish, and what can I safely answer with?”
Use this four-part rhythm:
- Observe: identify the opening movement and direction of the attack.
- Defend: choose one response rather than stacking panic inputs.
- Answer: use the shortest attack that reliably fits the opening.
- Reset: return to a distance where you can read the next action.
The official Together update adjusted attack queuing to reduce unwanted follow-up attacks, but it did not remove commitment. Deliberate inputs are still more reliable than repeatedly pressing attack or dodge.
Attack Types
Every weapon should be learned as a small toolkit rather than one damage number. Begin in a familiar area and test:
- the first normal attack by itself;
- the complete normal sequence;
- attacks made while moving or after running;
- the follow-up available after defensive movement;
- a charged input, when the weapon supports one;
- the equipped weapon skill.
Watch where the character moves, when the hit becomes active, and how long it takes to regain control. The complete sequence may be appropriate against a staggered or isolated target, while a single attack may be the correct answer during a narrow opening. The weapons guide and its category pages help narrow a family, but the individual moveset still needs hands-on testing.
Do not queue an answer before reading the result
If the first hit misses or the enemy moves, continuing the planned chain usually makes the position worse. Pause long enough to see whether the attack connected and whether the opponent is still committed. This is especially important near ledges, walls, or a second enemy.
Dodging
Dodging is most useful when it answers a specific attack. First identify whether the threat is a direct swing, a delayed strike, a sequence, or an area you simply need to leave. Dodging immediately when an enemy begins moving can fail if the attack continues tracking or if a delayed follow-up catches the recovery.
A good practice rule is one dodge, one reassessment. After the movement finishes, check three things before attacking:
- Is the enemy’s sequence actually over?
- Did the dodge place you inside your weapon’s useful range?
- Is another enemy now closer than the original target?
Sometimes the correct follow-up is an attack. Sometimes it is walking away, recovering stamina, or repositioning the camera. Repeated dodges without a new read spend resources while giving up control of spacing.
Blocking and Parrying Concepts
Blocking and parrying are different decisions. Blocking aims to control incoming pressure through the equipped defensive setup. Parrying asks for more precise timing and should be practised against a recognizable attack rather than attempted against every new animation.
For beginners:
- Learn to avoid the attack consistently.
- Test blocking with the intended shield or equipment setup.
- Practise parrying one clear opening attack at a time.
- Do not assume a successful defense guarantees a long punish window.
Exact timing windows and stamina costs can change with equipment and patches, so this guide does not publish frame counts. If an old video gives an exact timing claim, verify it in the current build before relying on it.
Stamina Management
Stamina is both an action budget and an emergency reserve. The dangerous mistake is not merely reaching zero; it is committing to an action without enough capacity to handle an unexpected continuation.
Use a simple decision rule: before attacking, know what defensive option remains afterward. If the answer is “none,” shorten the attack sequence or wait. When stamina is low, move at a controlled distance and recover. Do not add a risky attack only because the enemy is nearby.
Equipment and build choices can change how the stamina loop feels, but the beginner principle remains stable: a smaller punish followed by a safe reset is better than a longer combo followed by helpless recovery. Review the beginner build guide for a learning-first progression philosophy.
Enemy Learning
Treat the first encounters with an enemy as information gathering. You are looking for a few repeatable signals:
- What movement starts the sequence?
- Does the enemy pause after the first swing or continue?
- Which direction covers the most space?
- Where does the enemy finish?
- How quickly can it turn toward a new position?
- Does taking damage make you rush the next decision?
Focus on one pattern at a time. For a boss, spend an attempt learning how to survive one sequence instead of trying to maximize damage from the start. Once the sequence is recognizable, test a single safe response and keep it if it works repeatedly. The boss preparation guide applies this process to longer encounters.
Fighting Groups
Multiple enemies change the value of every opening. A punish that is safe in a duel may be unsafe when another target is outside the camera. Before committing:
- move so enemies approach from a similar direction;
- avoid standing between two attack paths;
- use obstacles and narrow approaches to limit simultaneous pressure;
- choose short attacks until the group is under control;
- disengage when the camera no longer shows the relevant threats.
The purpose is not to make every enemy attack at once. It is to create a temporary duel, take a safe action, then move again.
Healing During Combat
Healing is an action with its own commitment. Create the opening first. A long enemy recovery, meaningful distance, or terrain separation is a better signal than low health by itself. If the enemy is still advancing, defend or reposition before attempting recovery.
Carry enough supplies to learn an encounter, but review why they are being consumed. Repeated healing after the same mistake is a sign to change the response, not simply bring a larger stack. The healing guide covers recovery planning and inventory discipline.
General Combat Tips
- Practise the first attack and recovery before practising the full sequence.
- Keep the enemy visible; camera control is part of defense.
- Make one defensive choice, then reassess instead of queuing another automatically.
- Stop an attack sequence when the first hit misses or the enemy recovers.
- Preserve enough stamina to leave an exchange that develops differently than expected.
- Learn unfamiliar enemies in open space before fighting them near a ledge or doorway.
- Change one variable at a time when practising: spacing, dodge timing, block choice, or punish length.
- Test equipment against a familiar enemy before taking it into a boss encounter.
Return to the beginner guide for progression and exploration, continue to the Build Hub when choosing a playstyle, or compare weapon categories when the current moveset does not fit the openings you can recognize.
Sources and Confidence
This guide uses Moon Studios’ official game overview and Together update notes for combat direction and current-system context. Beginner videos were reviewed to identify common learning problems, not to establish hidden timings. Advice about observation, short punish windows, stamina reserve, and isolated practice is editorial guidance; no unsupported frame counts or exact balance values are claimed.
- Author
- No Rest for the Wicked Wiki Editorial Team
- Category
- Guides
- Game version
- Early Access — Together Hotfix 9
- Verification
- published
- Last verified
- 2026-08-10
- Source
- Official game and Together update context plus beginner-problem research; this guide excludes unsupported frame data and numerical mechanics.
Change log
- : Created the noindex combat guide framework for future verified research.
- : Published a source-reviewed fundamentals guide without numerical or hidden-mechanic claims.
- : Expanded the guide with a repeatable combat-learning loop, defensive decision rules, and encounter review steps.
Related Guides